Disclaimer: This website provides health information for educational purposes only and is not a substitute for professional medical advice, diagnosis, or treatment. Always seek the guidance of a qualified healthcare provider with any questions you may have.
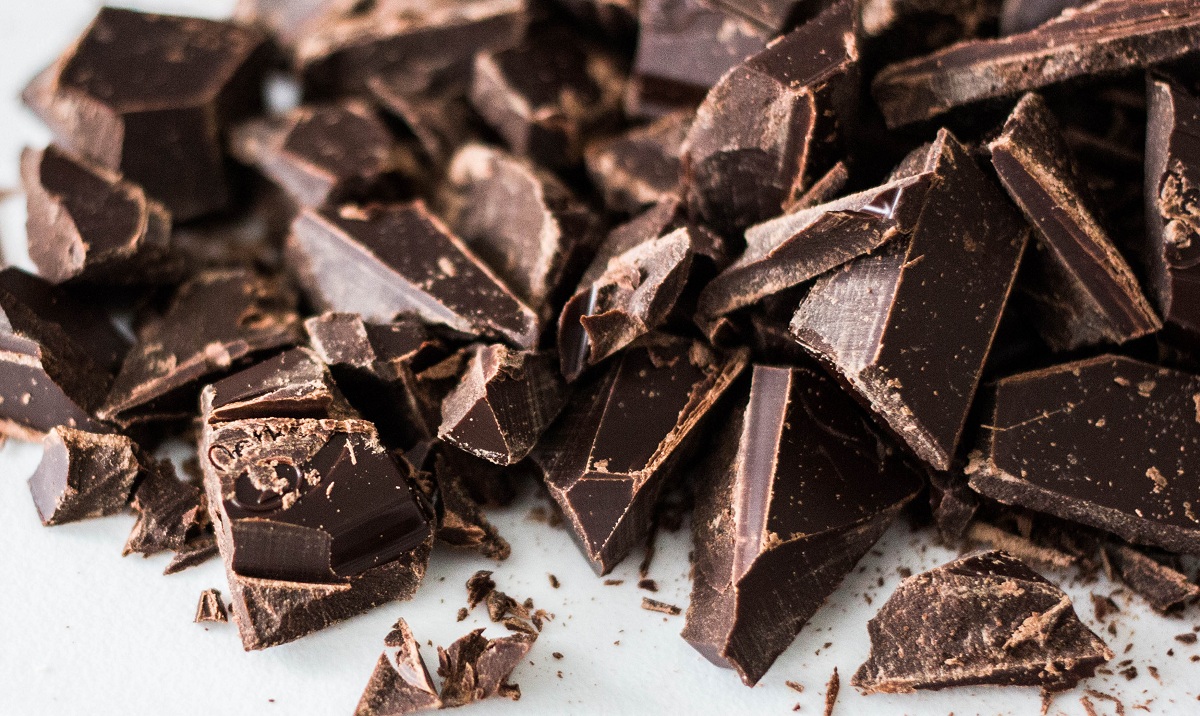
Whether they’re store-bought or decorated with gold foil, chocolates never fail to make a sweet tooth’s day. Once a luxury item, chocolate has been democratized and made available in various forms and amounts of cocoa solids and cocoa butter. Cacao beans can also be bought for various culinary needs.
Chefs typically use high-grade couverture chocolate and do not bother with making chocolate from scratch. When they do decide to go from bean to bar, they select high-grade beans to roast and derive chocolate liquor and cocoa butter from. If you’re curious or wish to try going bean to bar, try the following steps:
Processing Nibs
Casual chocolate makers can buy cacao nibs from chocolate stores. They can come pre-roasted or fresh, though the former is what’s usually found in stores. Once you’ve found the right nibs for your dream chocolate bar, it’s time to crack, winnow, grind, and conch those nibs to start the chocolate-making process.
Grinding nibs that have been cracked and winnowed produce cocoa liquor or mass. This paste is then refined in a conch, which produces cocoa butter. Conching heavily impacts the flavor notes of the finished product, as it is during this step that flavoring is added. Caster sugar and whole milk sugar are added at this stage to modify a chocolate block’s sweetness level.
Heating, Pouring, and Molding
Heating or tempering chocolate is the arduous process of playing with the temperature of cocoa butter to get its fats to form the right type of crystals. This plays a huge role in the “snap” of chocolate, its texture, and its overall look.
Large chocolate makers use vats to heat and cool chocolate with great accuracy. At home, all you need is a cool glass or plastic bowl, a fan, a hand dryer, and the working temperature of the type of chocolate you’re making.
Once your chocolate has been tempered, you can pour or pipe the chocolate into your molds. Make sure there are no bubbles in the mold before placing it in the fridge to set.
The Easy Way
If you still want to make homemade chocolate but want to forego beans, you can use cocoa powder instead. Cocoa powder is less “chocolatey” than cocoa solids, but when mixed with butter, it can get the job done.
For a quick bar of chocolate, have cocoa powder, butter, milk, water, flour, regular sugar, and powdered sugar ready. Mix chocolate powder and butter together until you get a paste. Use a double boiler or a bowl suspended on top of a pan full of hot water to heat the paste.
Pour the heated paste into a processor or mixer and mix it until it’s smooth. Add room temperature milk to the mixture with sugar and flour, then mix it smoothly. Pour the mixture into molds, pop it in the freezer, and wait for your homemade chocolate to solidify and harden.
Packaging and Decorating

The last part of chocolate making is decoration and packaging. Powder colorants, oils, edible decorations, and other confections can be used to make your treats look like unique pieces of art.
Packaging can be as basic as barebones cardboard to as fancy as gold foil-wrapped cushioned boxes. Consider the melting temperature of the chocolate and its texture when looking for materials. Your hard work deserves to look its best, so don’t hesitate to spend a little extra on good packaging material.